The nice thing about pay per use is that you get billed for the vm utilisation. If you need a have a vm for a short period of time this is the best option as cost is typically low a short time period,
However something you learn when maintaining a cloud solutions is that predicting cost related to a pay per use subscription is very hard. More often than not, you end up with a surprise bill due to spike of usage.
Using a pay per use subscription for a long period of time is not an option. Luckily Azure as with AWS introduced the concept of Reserved Instances (RIs).
What is a Reserved Instance ?
The concept of Reserved Instances is anything but new. You reserve the use of the vm for a long period of time at a fraction of the cost of a pay per use subscription. Windows sites “states” that you can significantly reduce costs—up to 72 percent compared to pay-as-you-go prices. This price reduction is dependent on the number of reserved years, size of vm and some other black magic value. Azure provides good cost calculator that will give you the amount of money saved, which is pretty handy.
Before you buy RI is important to note that Azure RIs are offered in 1-year and 3-year terms. Important to note that RIs require full payment upfront.
This is a bit of a problem when you work with small clients that request a monthly fee for your online services or when projects are cancelled or postponed.
The nice thing about azure RI is that although you bind yourself for a long period. There you still cancel RI’s for a 12 percent cancellation fee for the remaining value of the RI’s.
Important to note that RI cannot be applied to all the VM instance type. For example R1 are not supported for A standard and Av2 virtual machine
Azure also provides two types of RI’s
- Subscription Scope. The RI is applied to a specific subscription scope. Azure allows you to move the RI from from subscription to another.
- Shared Scope. The RI is applied to any subscription in your enterprise agreement.
How to apply a Reserved Instance to a pay per use subscription.
Now let say you a have a VM in a pay per use subscription and wish to migrate the VM to a reserved instance. The following is the steps you need to perform.
Before you purchase the RI for any VM’s you have it is important that you take not of the following parameters.
- Location of where the VM is located.
- The size of the VM use are using.
The RI will be applied to the VM’s matching the criteria and the no of RI instances you have purchased.
Let’s Start.
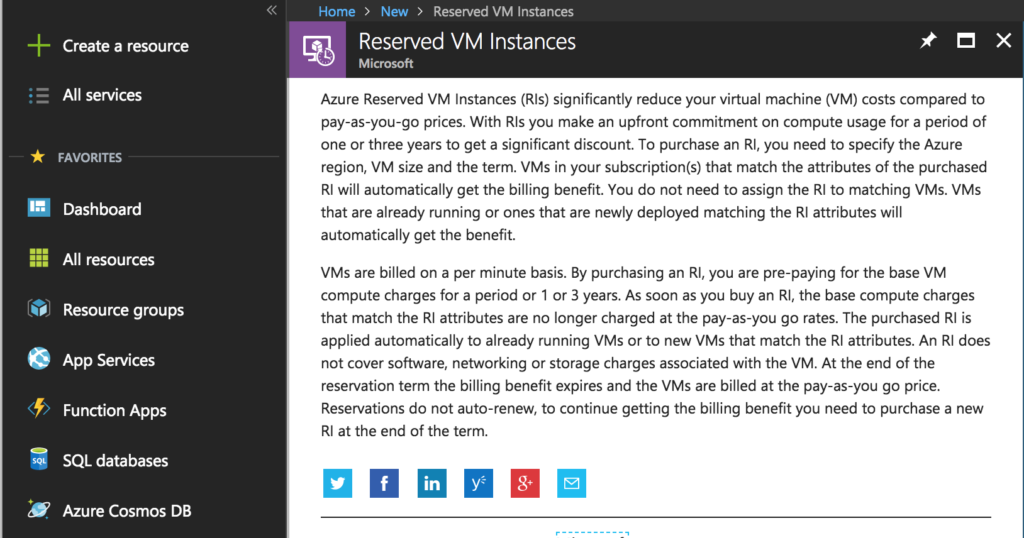
- Login in Azure portal and select Create a resource and search for Reserved VM Instances.
- Create the Reserved Instance
As everything in azure giving things the right name is pretty important as renaming of attributes is usually not supported. Best is to add the type of VM’s supported and the amount.
The scope define to which level the reserved instance is applied either to a specific subscriptions or shared between subscriptions.
Hope this tutorial was helpful. If you need assistance or consultancy to setup your projects on Azure please feel free to contact me on [email protected].


